How to launch a dynamic website using Contentful and NuxtJS

Introduction
Creating a dynamic website using Contentful, a headless CMS, and NuxtJs, a front-end framework covers setting up Contentful, creating a NuxtJS project, configuring environment variables, and fetching data using Contentful's API. Read further to dive deep into the whole process in detail.
The Client Use Case
Our client Banistr is a technology startup that is a marketplace for interior designers. Their vision is to scale the business to millions of users and hundreds of thousands of interior designers. The website needed to be super high-performance and built on a modern tech stack. In addition, the content created here would be syndicated in multiple different sites, mobile apps and such.
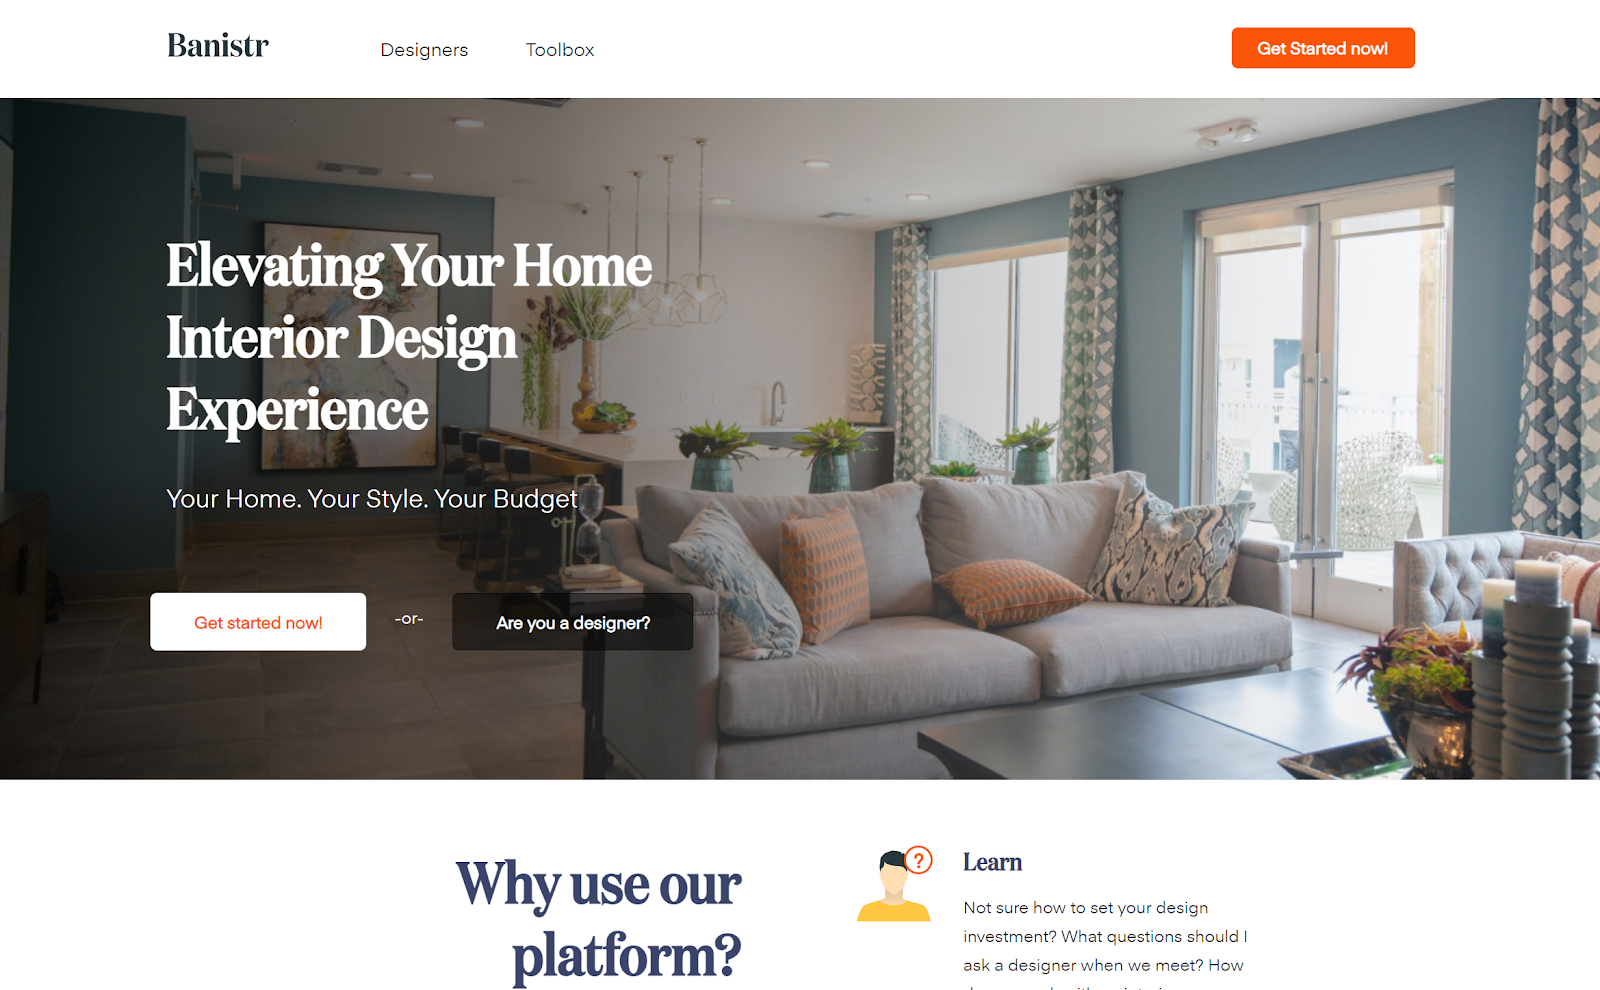
The client requirements guided us into a modern headless CMS tech stack along with reactive JS frameworks, and to avoid the traditional CMS approaches.
After assessing multiple options, we selected the following tech stack:
- Contentful as the Headless CMS
- VueJS as the front-end JS framework
- NuxtJS is a front end framework built on top of VueJS which provides server side rendering (SSR).
An Overview of the Tech Stack
Contentful
Contentful is a next generation headless CMS where you can manage the content of your website, a mobile app or any other platform that displays content. Using JSON API at its core, your content becomes a real world object representation with relationships. In general, Contentful can do everything that a traditional CMS can do.
As an API-centric platform it means that you as a developer get your data in and out of the Contentful platform using only API calls. It also brings the microservices and SOA (Service Oriented Architecture) into play. Where a single application or website is built with small services, each running in it’s own namespace with a lightweight open communication channel often as an HTTP resource.
VueJS
Sitting at top of the visual layer, VueJS was the goto library to build front-end templates with its HTML-like syntax, readability, developer friendliness, and easy integration with NuxtJS. Not that ReactJS or Svelte didn’t cross our mind, but the marriage is blessed from heaven. VueJS has a smooth learning curve, transferable knowledge between teams and platform with precision reactive component updates. Building SPA or PWA is as reliable and robust as with any other competitive framework.
NuxtJS
Nuxt.js is an open source web application framework that is built on top of Vue.js, Node.js, Webpack and Babel.js. It simplifies the development of universal or single page Vue apps by providing basic web development features. Nuxtjs consumes the API from Contenful and displays the content in the frontend.
NuxtJs Integration with Contentful
There is a blog portion of the website, and this data is set up in Contentful.
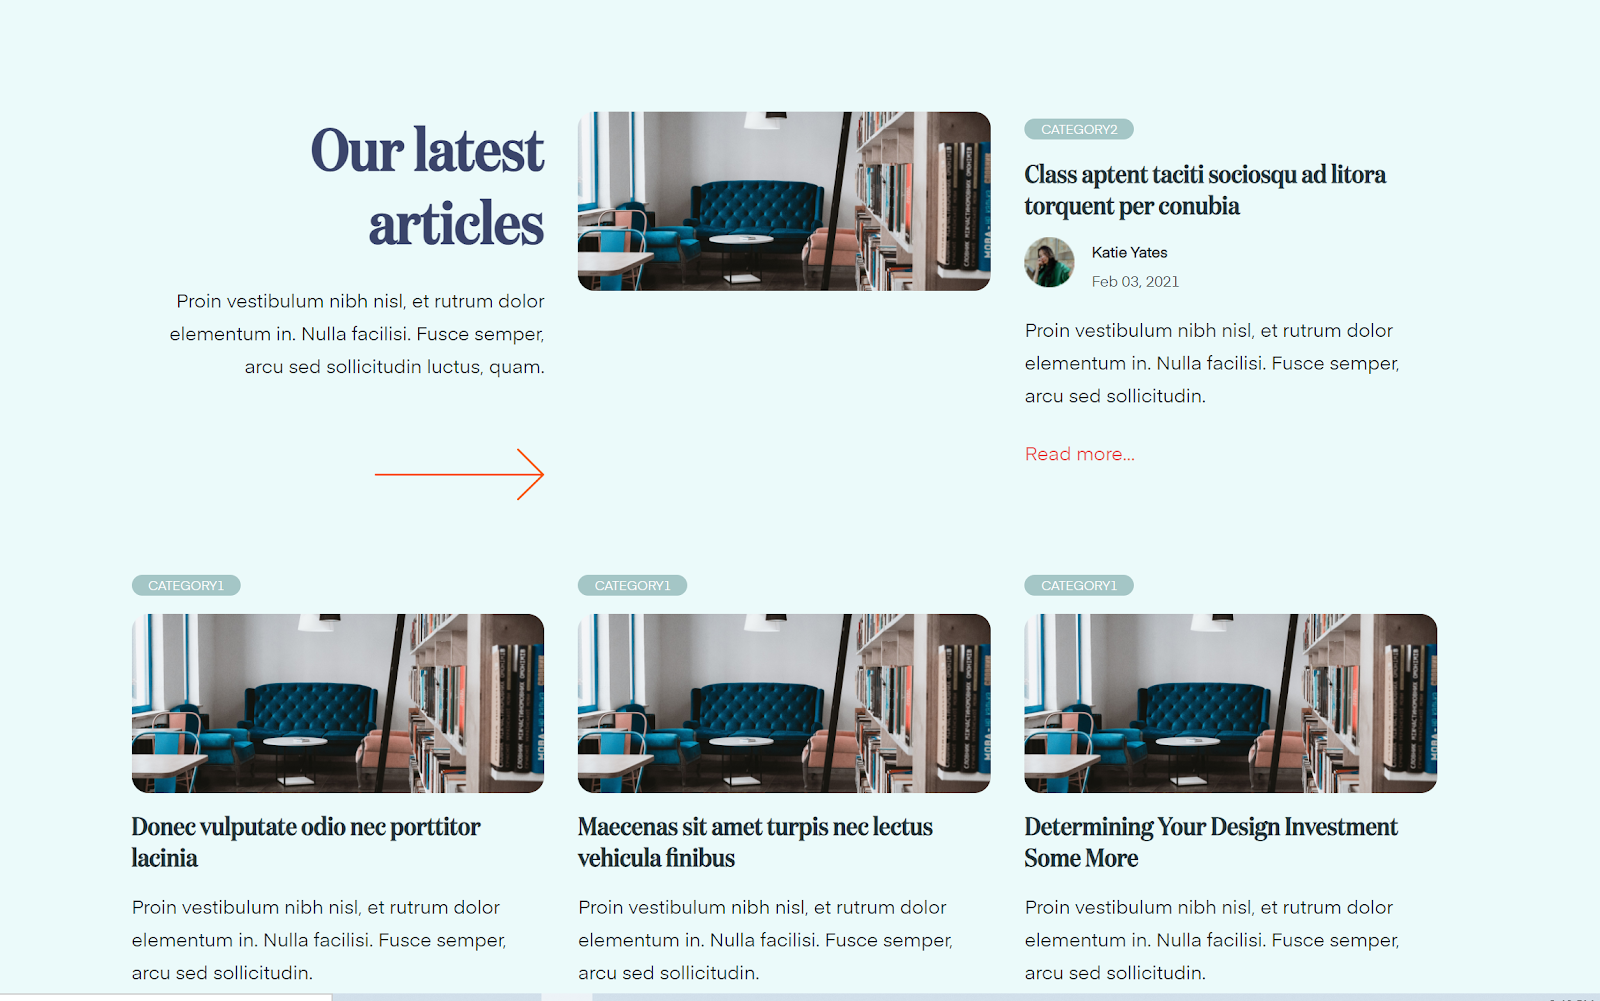
Setting up Contentful data
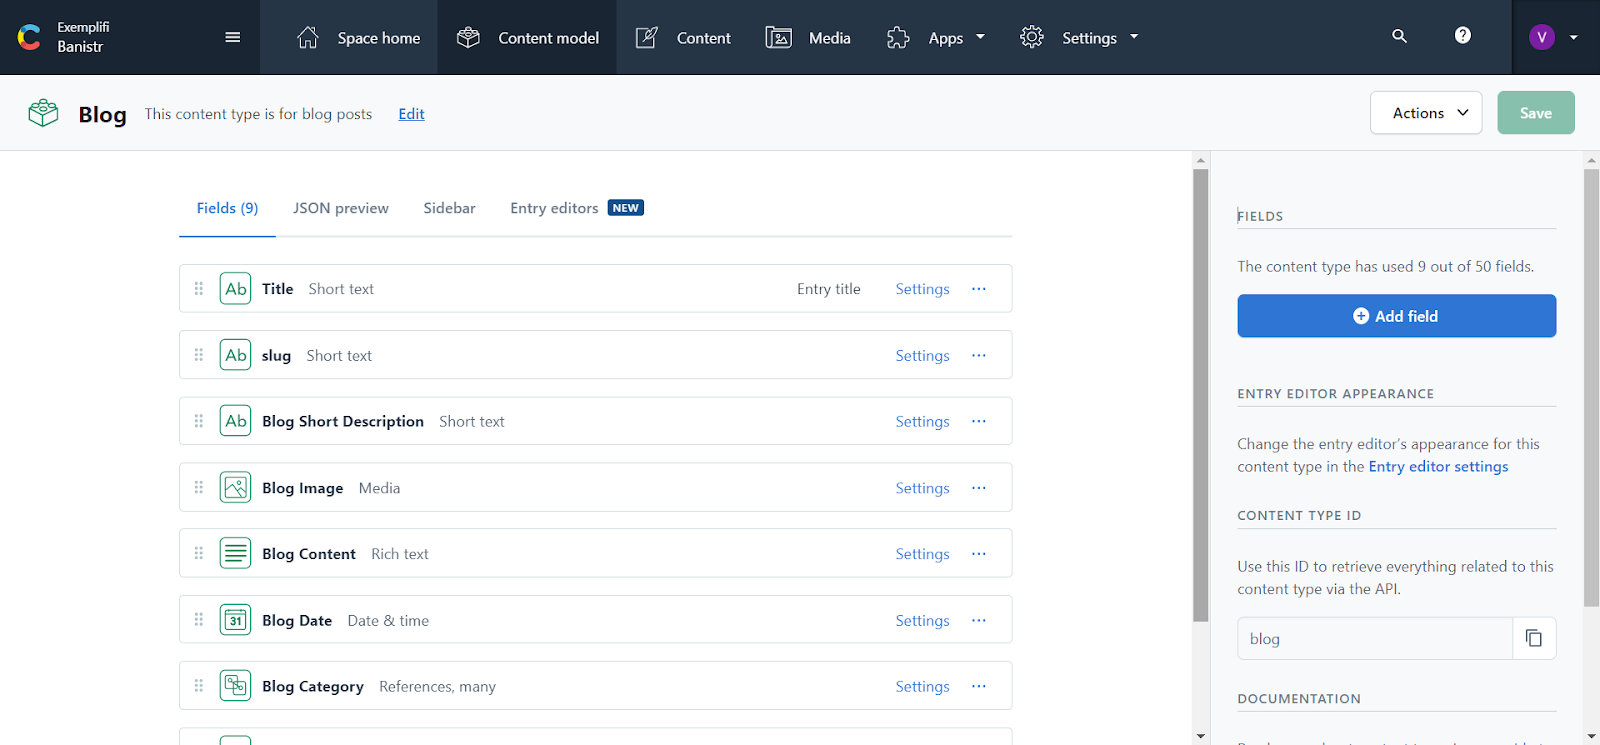
Log in into your Contentful app and create a Blog content model in the default space. Add basic fields to the content model to store the blog data.
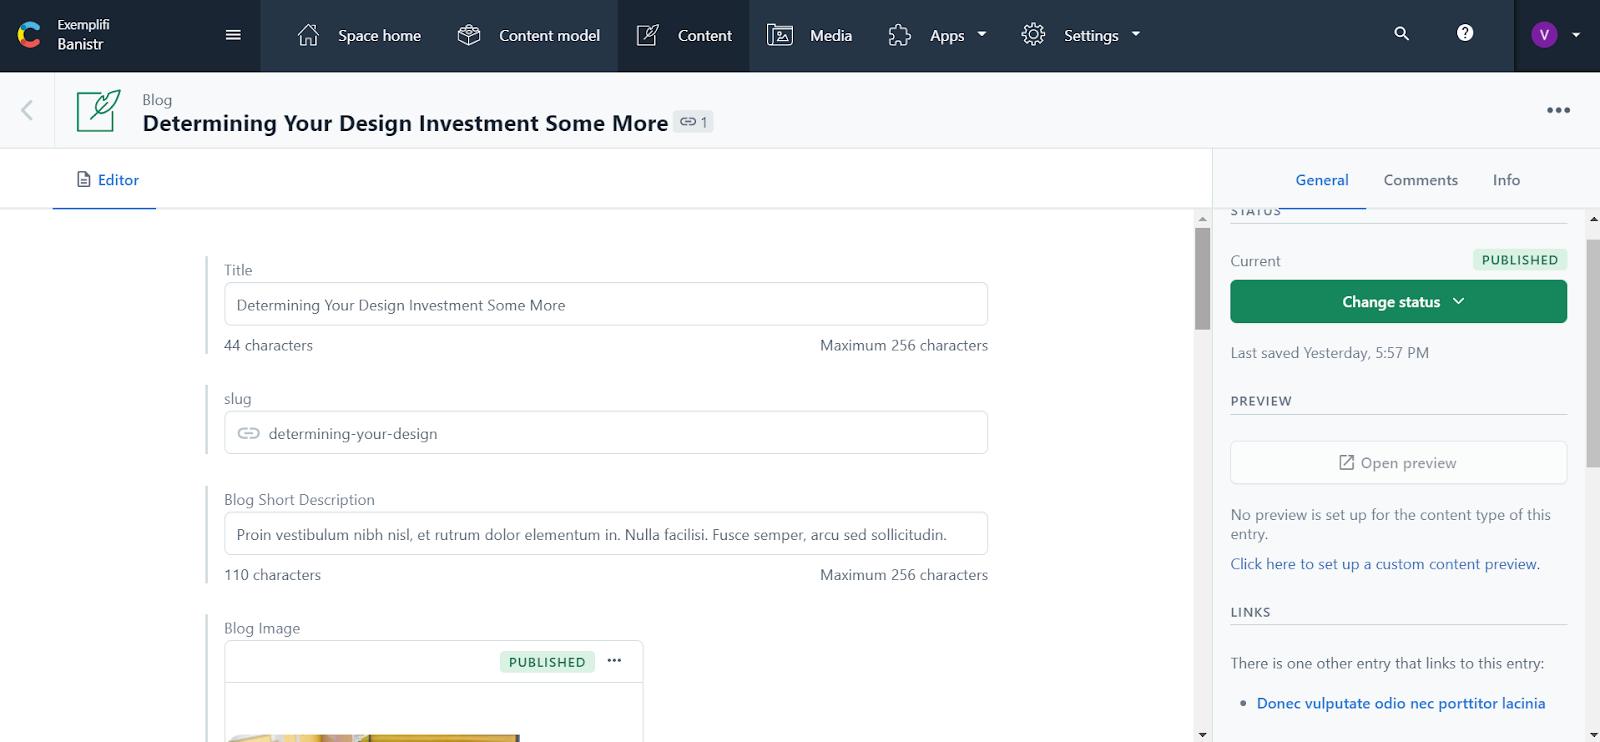
Create an article in the content tab using the blog content model. Fill in the basic information in the blog fields.
Repeat this process to create more articles

Create an API key under settings. The spaceId and the content delivery api - access token will be used in the nuxt project to fetch the content from Contentful.

Create a Nuxtjs project
Use the create-nuxt-app plugin to create a nuxt project.
npx create-nuxt-app
This command will create the nuxt project with the following structure.
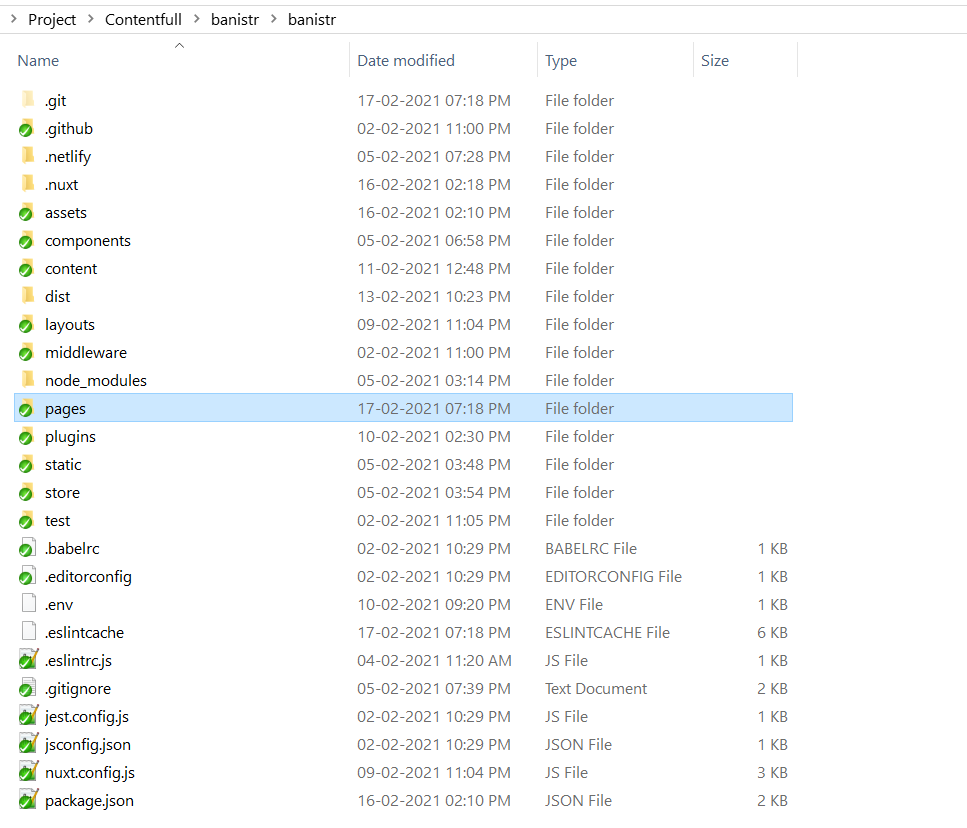
Create an .env file and add the API details from the Contentful in to environment variable.
NUXT_ENV_CONTENTFUL_SPACE= <space_id>
NUXT_ENV_CONTENTFUL_ACCESS_TOKEN=<access_token>
Create a Contentful.js file under the plugin folder and create a Contentful client using the environment variables we added in the .env file.
const Contentful = require('Contentful')
const config = {
space: process.env.NUXT_ENV_CONTENTFUL_SPACE,
accessToken: process.env.NUXT_ENV_CONTENTFUL_ACCESS_TOKEN
}
module.exports = {
createClient () {
return Contentful.createClient(config)
}
}
In the nuxt.config.js add the created plugin in the plugin array to register it.
plugins: [
{ src: '~/plugins/Contentful.js' }
],
Add the modules dotenv under the buildmodules to use the environment variables throughout the project.
https://go.nuxtjs.dev/config-modules
buildModules: [
'@nuxtjs/eslint-module',
'@nuxtjs/dotenv'
],
Fetching data from Contentful
The most common and recommended way to consume Contentful API in your front-end (assuming you’re on NuxtJS) is using plugins interface. NuxtJS plugins extend the core functionality that lets you interact with third party tools and libraries like Axios, Stripe or even creating custom implementations based on NodeJS.
The Contentful documentation makes it fairly easy to setup and configure API consumption in NuxtJS, but it’s a barebone implementation where you get all the data at once. In a real world scenario you might want to tone it down i.e. request on demand. As an example if a user visit’s the landing page/home page it’s not required to get all the Objects from Contentful, instead just the stuff that’s needed for the home page context.
To do this we just tweaked the plugin file a little bit to only return an instance of Contentful client, and took over from there on page level basis. Here’s what the plugin file looks like:
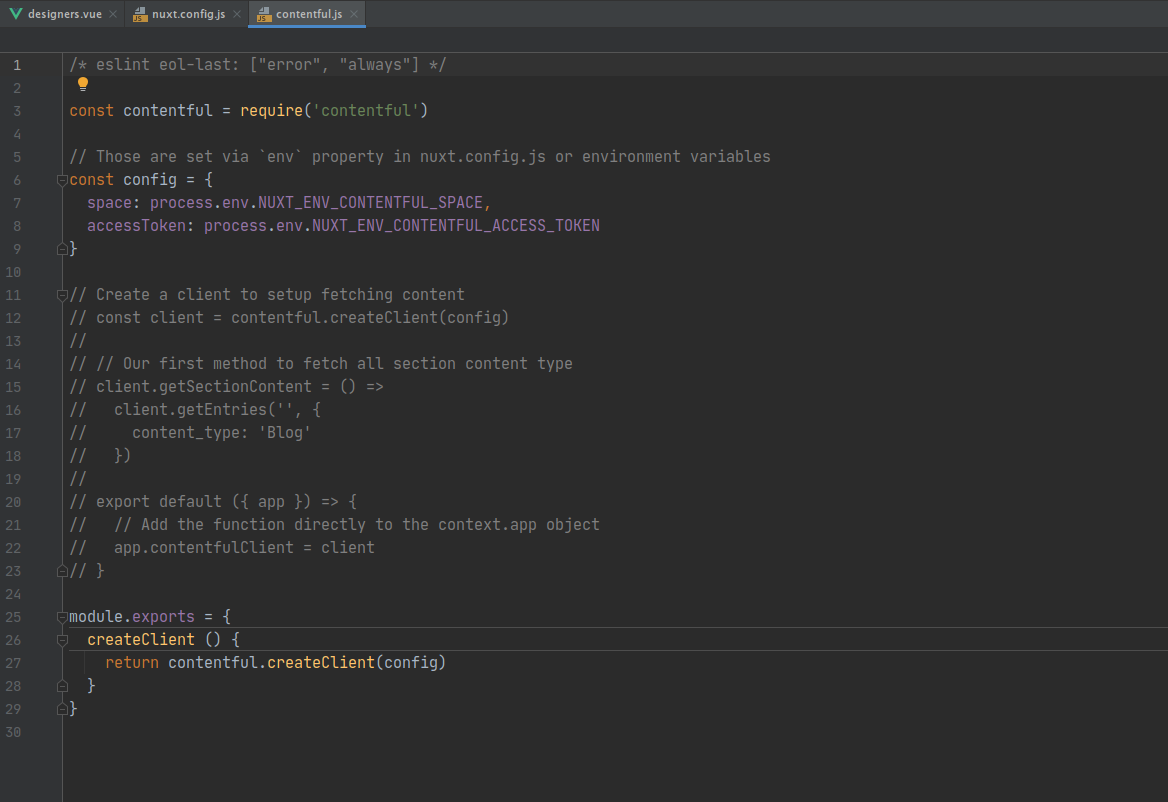
Now when we want to fetch any API data from Contentful we’d just import Contentful client in Vue template and call the `asyncData()` function to fetch contextual data just for the home page, see below:
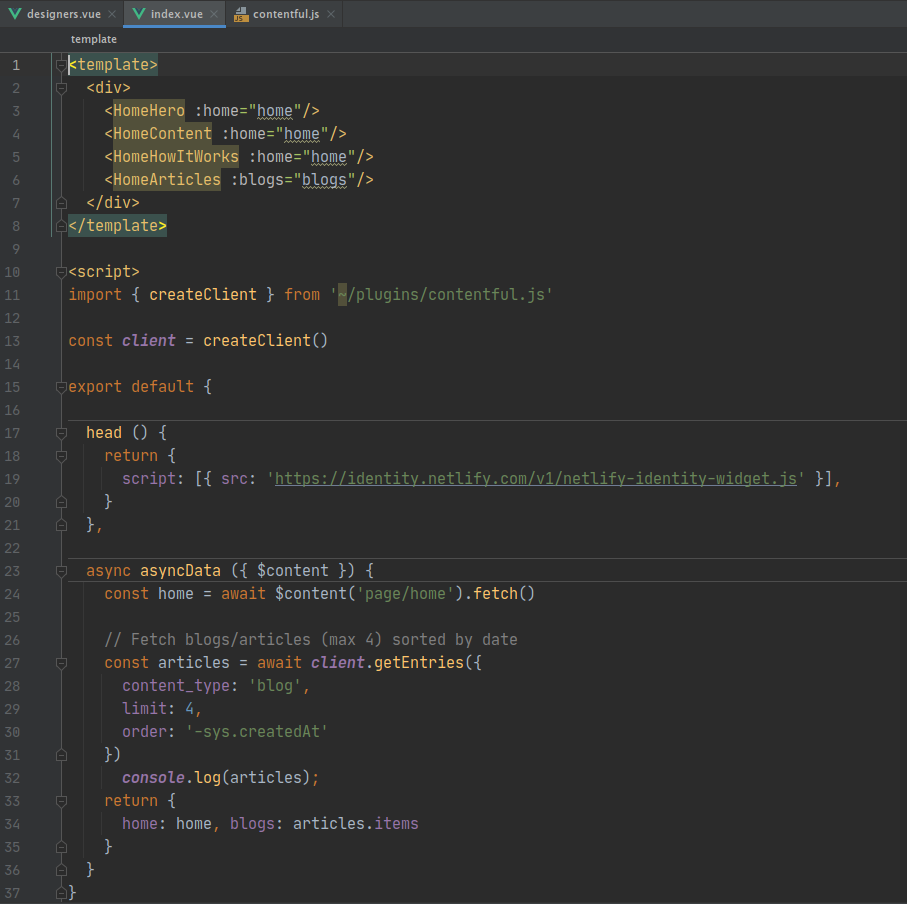
The explicit import at the top makes sure that you have all the bells and whistles in place before calling the actual Contentful API, do note the object notation of what we’re importing, just the Contentful client, nothing else (resource savvy import). Later we can call the client to get all the entries from Blog post type in Contentful and return them as JSON objects.
Now you should be able to access the Contentful object in console as well as in your template file. Since we divided the layout into component files we’re passing them as props to the component using shorthand Vue syntax.
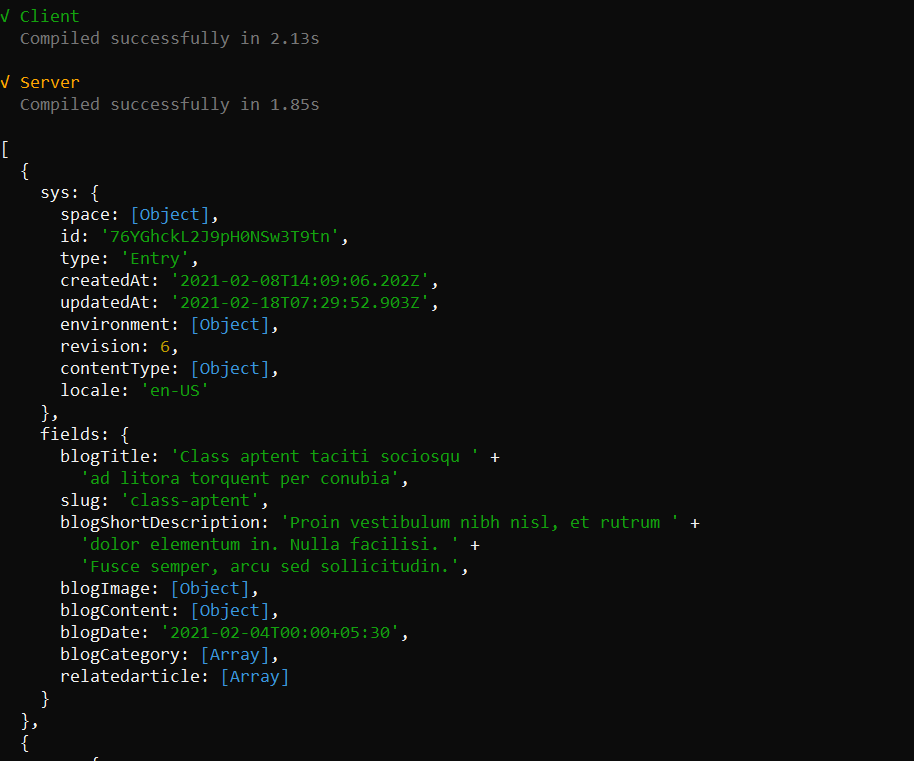
And here’s how a full rendered page:

References
To learn more about how to use Netlify CMS to manage website content when the site is built on NuxtJS, click here.
Summary
Using a Headless CMS with a proper JS tech stack gives you tremendous power and flexibility, compared to traditional CMS platforms such as WordPress or Drupal. The benefits go beyond a classic website and extend to leveraging your content to mobile apps and progressive web apps.