Integrating Single Sign-On Capabilities with WordPress

Introduction
Single sign-on (SSO) is an authentication scheme that enables users to log into multiple websites or software applications using a single ID and password. Enabling SSO on websites built on WordPress can be accomplished using the miniOrange plugin which provides ways to configure SP and IdP settings. The below guide includes configuring service and identity providers, mapping attributes, and setting up WordPress as both an Identity Provider (IdP) and a Service Provider (SP), facilitating seamless access across multiple sites.
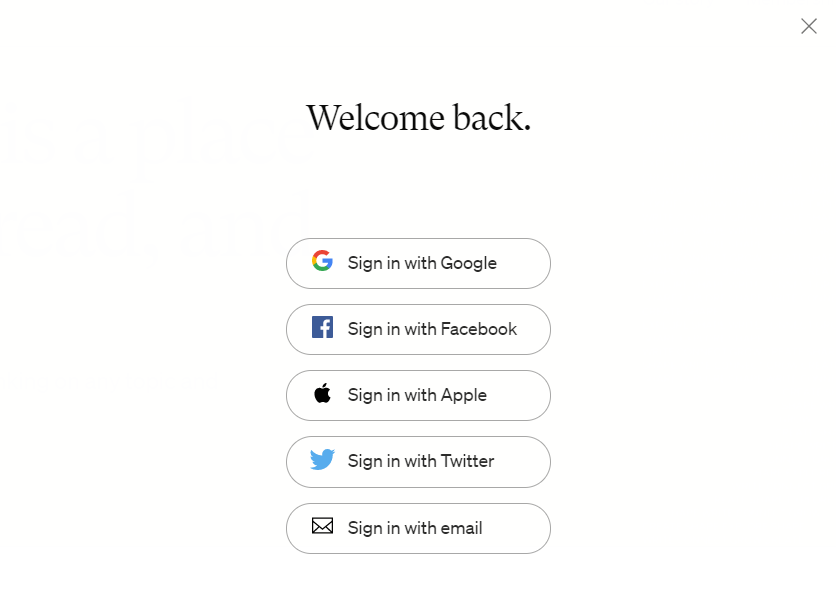
Here is a sample screen from Medium with multiple SSO login options.
When we go under the hood, here's how the magic happens.
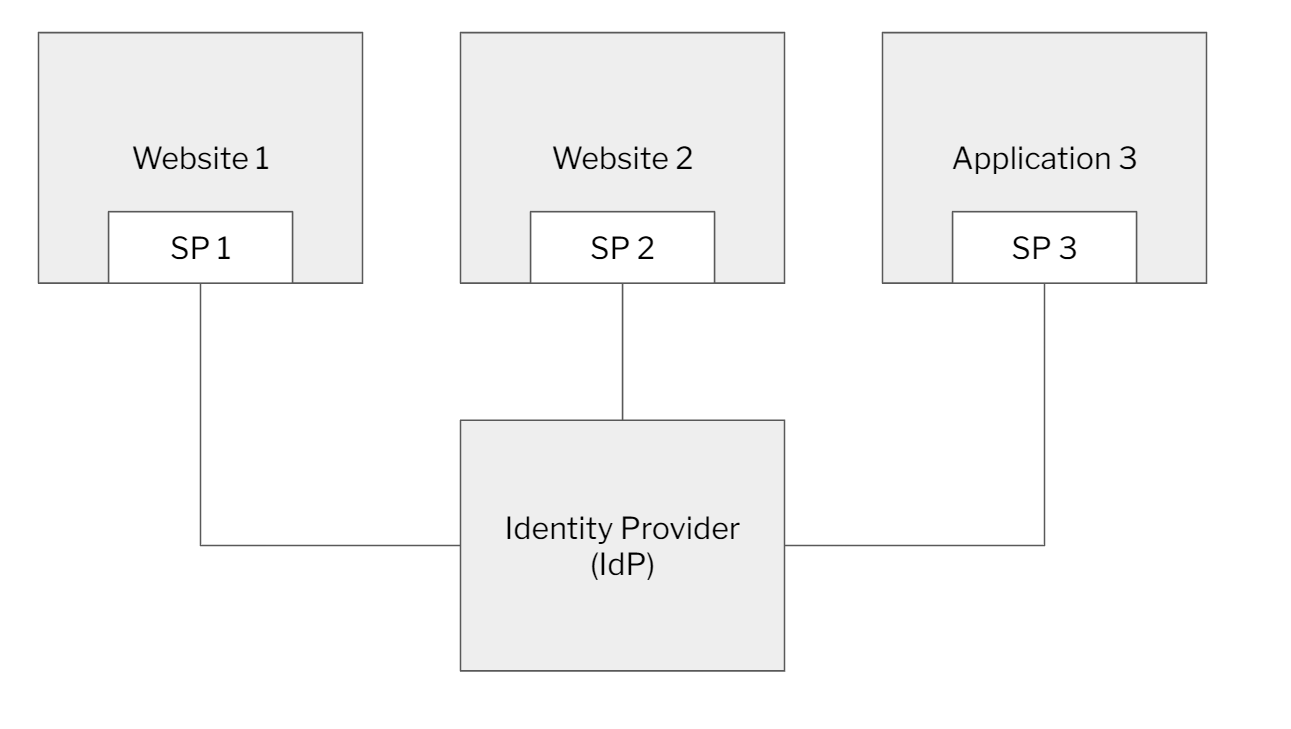
User credentials and other identifying information are stored and managed by a centralized system called Identity Provider (IdP). An identity provider is the one that authenticates a user after he enters his credentials.
A service provider, on the other hand, provides useful services to an application or website that has authentication needs. Service providers rely on identity providers to assert the identity of a user. They do not authenticate users but instead request authentication decisions from an identity provider.
In an enterprise setting, we have SSO providers such as Microsoft Azure, Okta, Google, and many others. The most popular standard for these SSO providers is called Security Assertion Markup Language or SAML for short. SAML is an open XML-based standard that enables the communication between identity providers (IdP) and service providers (SP).
SSO in WordPress
In this post, we will primarily look at enabling SSO for websites built on WordPress. We look at two common scenarios:
- Users that come to the WordPress website have to get authenticated by a central SAML provider. We will illustrate this using G-Suite, which acts as a Service Provider (SP).
- Users that come to the WordPress website get authenticated by a central WordPress website (where all the user/password information is stored). In this example, WordPress acts as both an Identity Provider (IdP) and a Service Provider (SP)
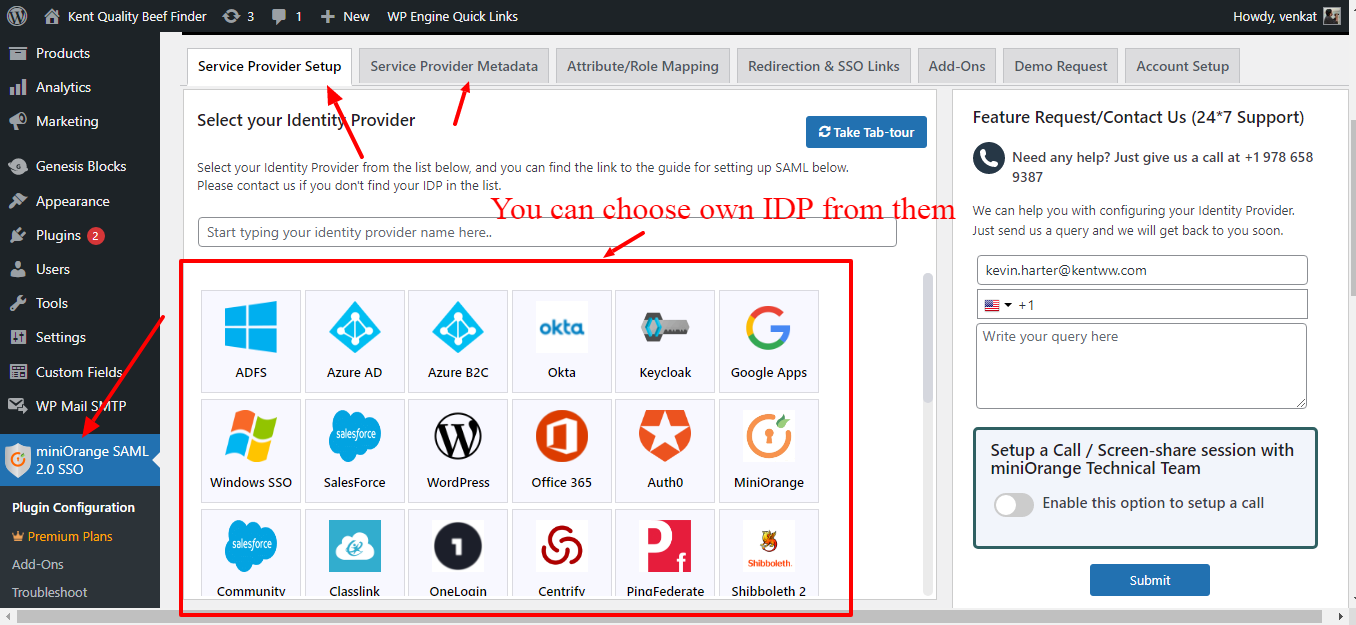
There are many ways to implement SSO in WordPress. We will illustrate this using miniOrange, which is a very popular SSO plugin that provides flexible ways to configure the SP and IdP settings. The plugin comes with out-of-the-box integrations for multiple service and identity providers making it a great tool to set up SSO on any website.
When users visit a website, they get the option to log in with multiple IDPs
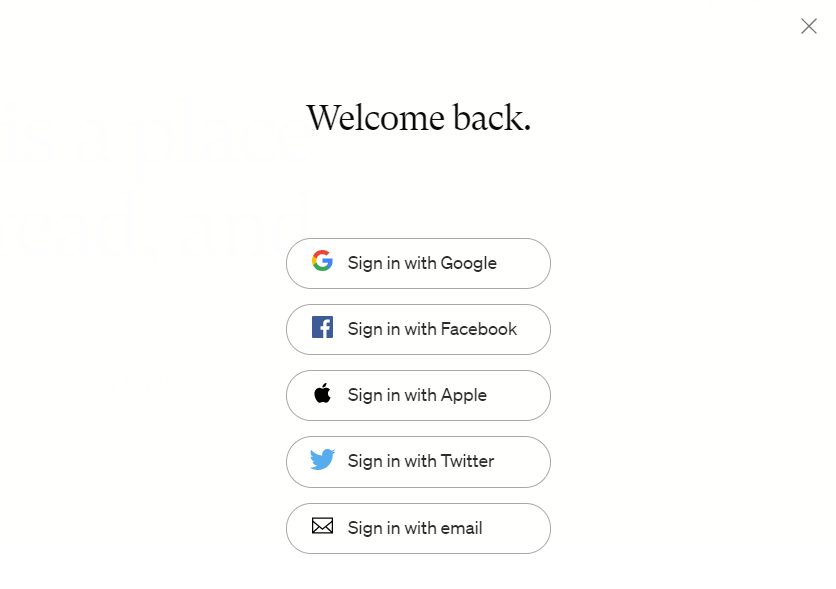
Let’s consider a login scenario using Google
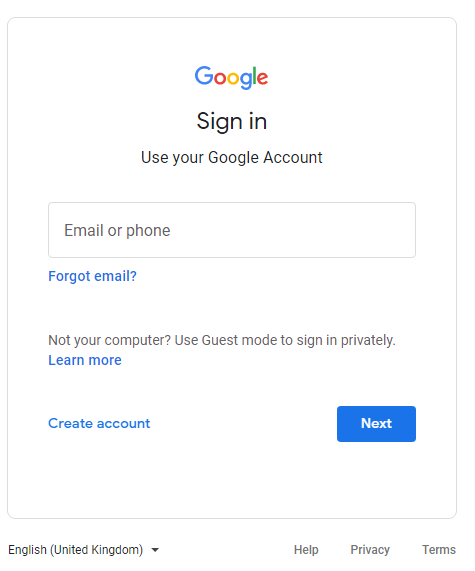
Using their Google ID, the user can access a completely new website without ever going through the hassle of having to register or create a new ID on the website.
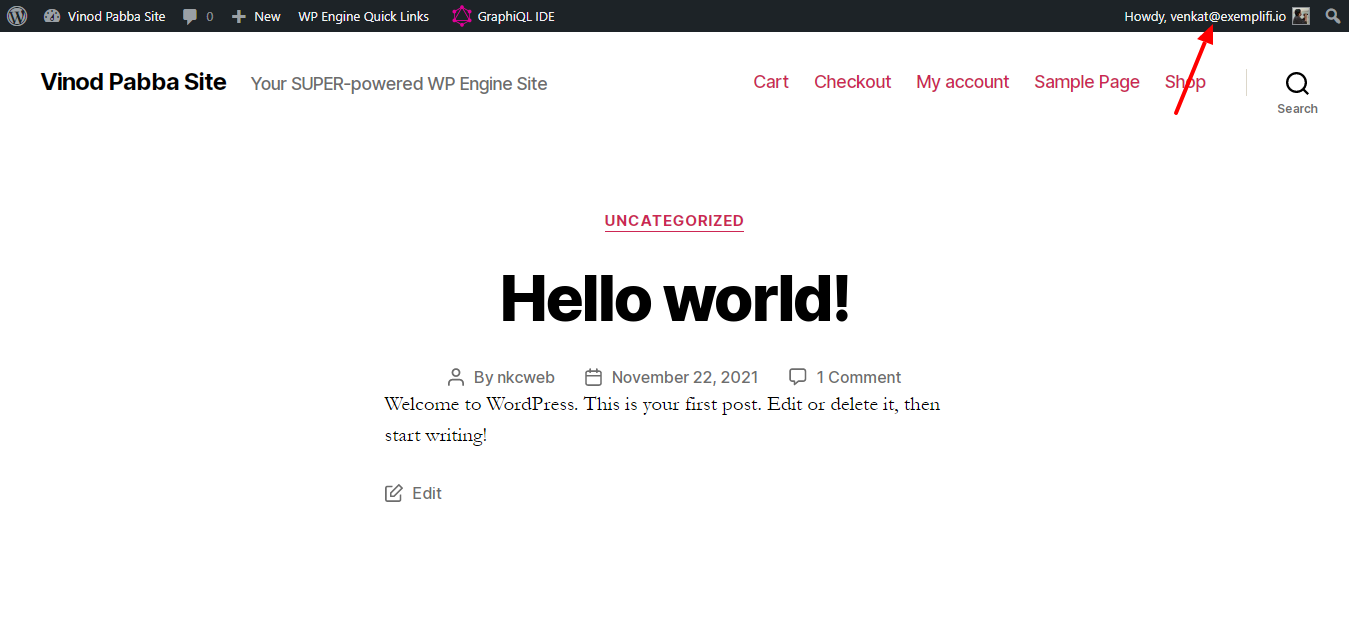
To configure Google as an IDP, follow the steps below:
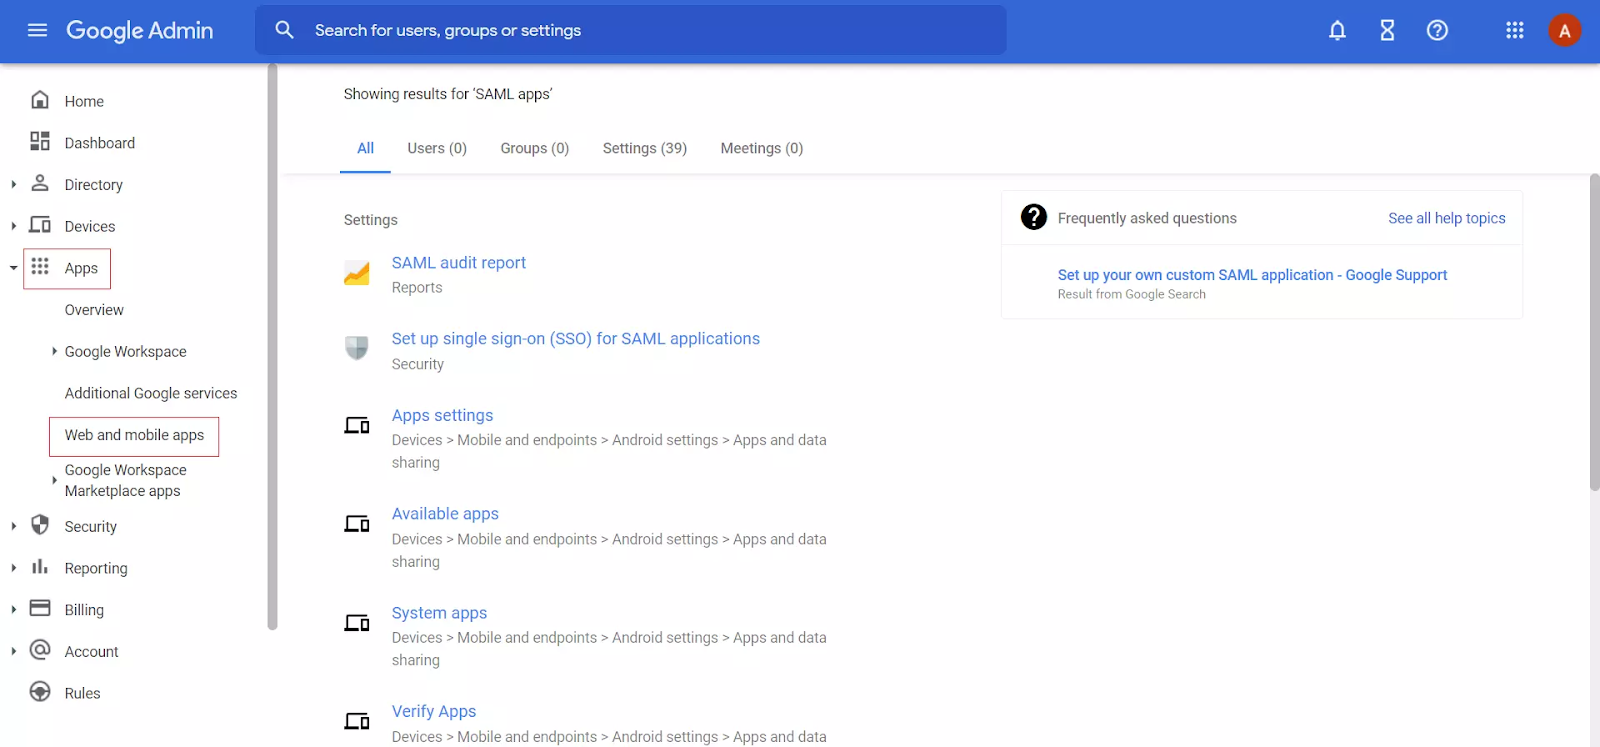
login with your G Suite administrator account and navigate to the Web and mobile apps section under Apps.
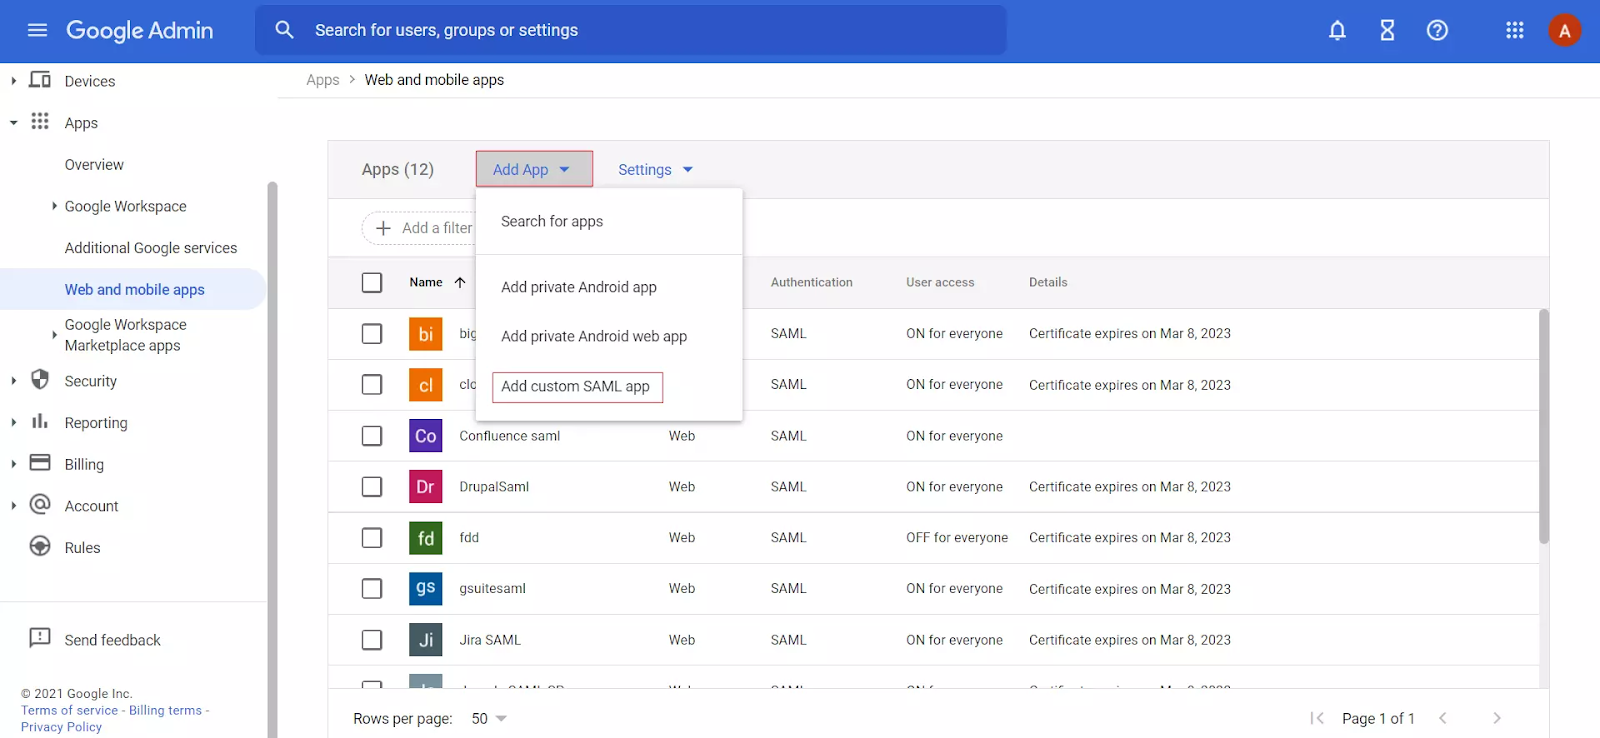
Click on the Add App button, then select the Add Custom SAML app tab to create a new SAML app in the dropdown.
You can now enter the details for your custom SAML app.
Additionally, you should download the Metadata and copy the G Suite details like SSO URL, Entity ID, and Certificate. These will come handy in the future and help configure the add-on manually. Next, go ahead and enter the details from the Service Provider Metadata tab in the SAML SP plugin.
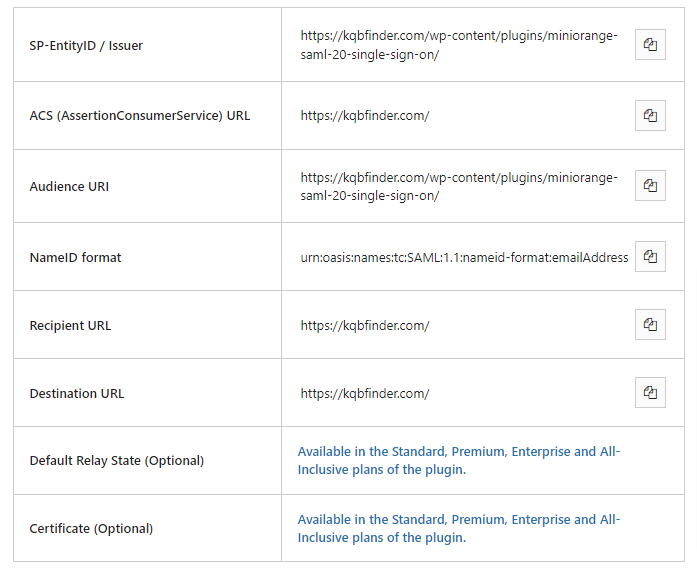
Attribute Mapping
Click on the Add Mapping button and select user fields in the Google Directory. Once donen map them to the Service Provider attributes and Click on the Finish button.
Activating the SSO
This step requires a quick reset by first going to the SAML Apps again and turning it OFF for everyone and then selecting ON for everyone to activate the SSO. You have now successfully configured G Suite / Google Apps as SAML IdP (Identity Provider) for creating G Suite / Google Apps SSO login into your WordPress (WP) site.
Now to setup WordPress as a Service Provider, Go to the miniOrange SAML SSO via WordPress and select Google Apps as IDP

Scroll down to Configure Service Provider and click on the Upload IDP Metadata File/XML button. Follow the instructions and input your IDP name and your setting informations will autofill in their respective fields. You have now successfully configured Google Apps as the IDP and you can enable the SSO experience illustrated earlier.
Implementation using WP as an IDP
To set up SSO between 2 WordPress sites, you will need to install two plugins. On the Identity Provider (IDP) site, install the Login using WordPress Users Plugin. On the Service Provider (SP) site, install the WP SAML SSO Login Plugin.
Setup WordPress as IDP
Once the plugins are installed, You can see the information reflected as shown in the screenshot below.
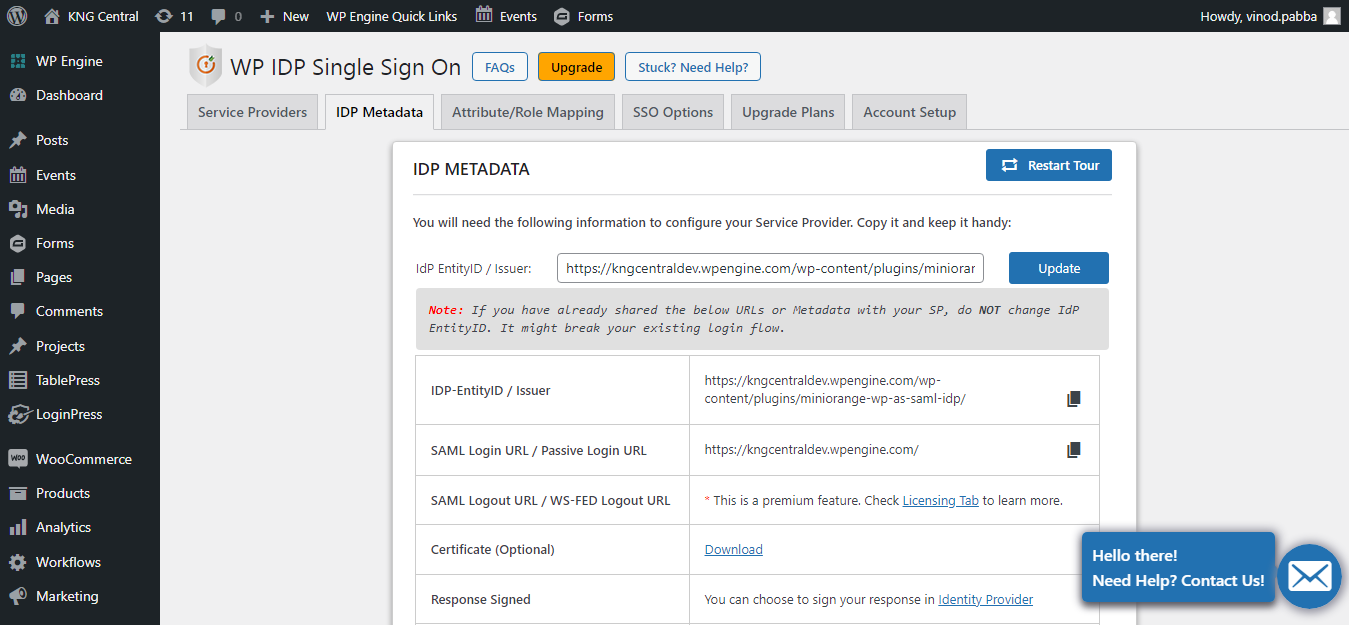
Next, go ahead and select the IDP Metadata and scroll down to download the XML file.
Setting up WordPress as SP
Login to your WordPress account and access the miniOrange dashboard. From there, select WordPress as the IDP from the Service provider setup page.
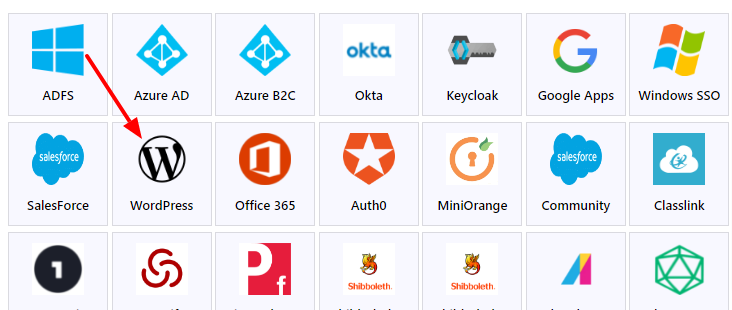
Next , select the Configure Service Provider option and upload the IDP Metadata File/XML from the previous step. Once uploaded, all the setting fields are automatically filled up and you are all done!
Conclusion
Single Sign-on ( SSO ) has been one of the most underlooked features of Web 2.0. We all take it for granted that websites should seamlessly integrate our credentials across pages and sites, but there was a time when this wasn’t possible. In short, SSO is the single key you need to open multiple vaults. There are numerous service providers and identity providers that can be used to create a seamless SSO process for your website users. With Google’s ubiquitous presence across the web, we feel it works best to create an unhindered customer experience to leverage SSO capabilities on WordPress.
If you liked this insight and want more updates, we’d love for you to join us on Linkedin, Facebook and Twitter.