Making your dynamic data location-aware

Introduction
Many websites have dynamic data entities (offices, employees, experts) that need to be location-aware. When a user in a certain physical location comes to the site we need to show only the data that is closest to them (the closest office, the nearest employee, experts within a 25-mile radius). It can achieved using technologies like Google Maps API and WordPress plugins such as GeoMyWP and FacetWP. Read till the end to dive deep into the process of making dynamic data in your website location-aware.
The Problem Definition
Let’s say we have a website for a business that has multiple offices, employees in these offices and subject matter experts in certain topics. The website will show this information in different ways on different pages.
We want this information to become location-aware. When a user comes to the site, he sees a modal and gives us permission to determine his location:
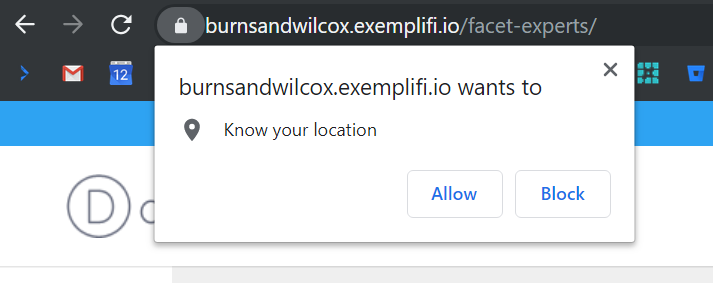
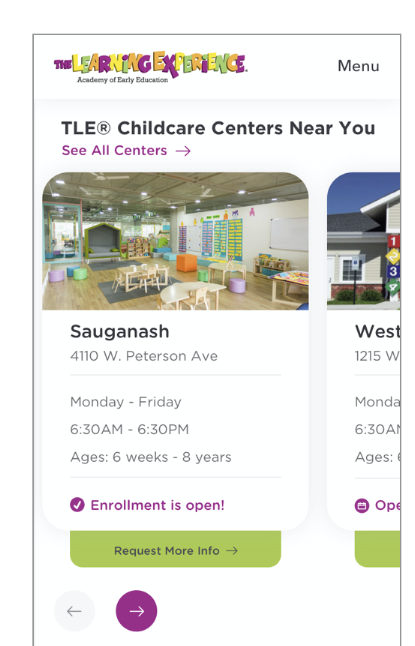
When he does, we want to show only the office nearest to him, employees nearest to him and say experts within say a 10-mile radius.
It is important to note that if the user doesn’t give us permission to track his location, we should fallback to the default experience that assumes no information has been provided.
Data Setup within the CMS
To better illustrate the data setup in a CMS, we will use WordPress. Entities such as offices, employees and experts are setup as “Custom Posts”. You can then use plugins such as “Advanced Custom Fields” to add unique fields to this custom post. Obviously, all location aware data will need addresses to be setup. Sample data would look something like this:
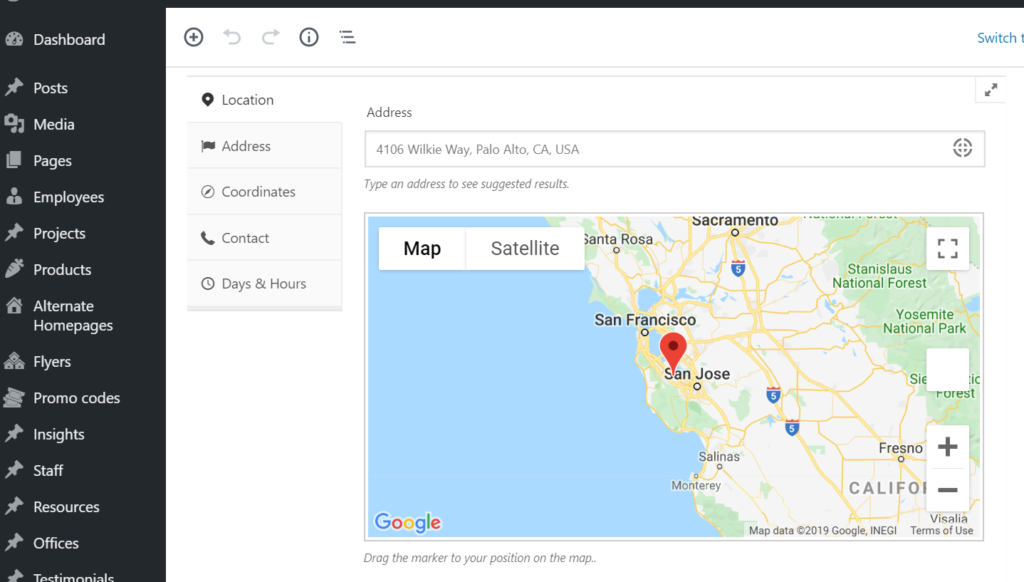
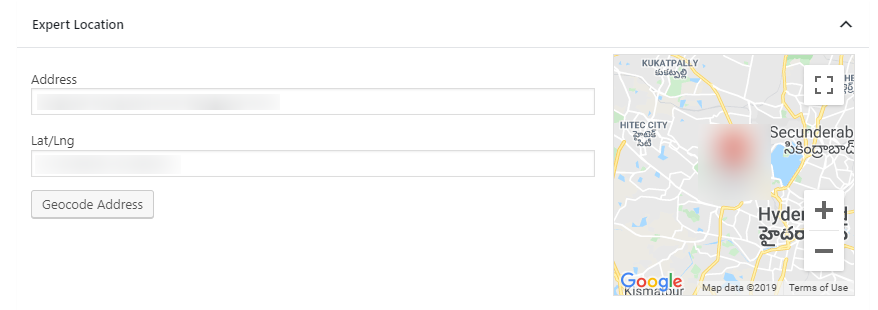
We can then use plugins such as Address geocoder that automatically translates the address into latitude + longitude values. Afterwards, the custom post fields will now show the latitude + longitude values along with the address as shown below:
Now we are ready to show location-aware data to the user.
Determining the User Location
We start by embedding a standard javascript provided by google. BTW, note that you will need to get setup on Google Maps and get their API key to use this javascript.
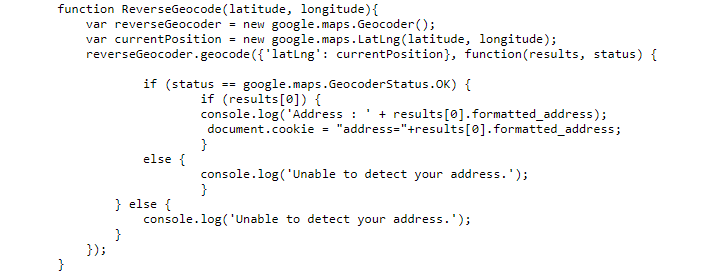
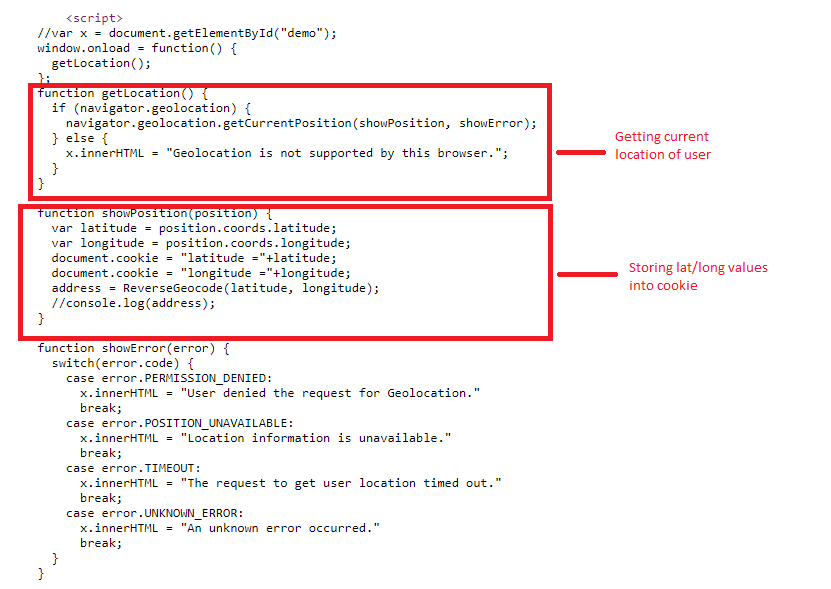
When a user allows the site to track his location, the javascript makes a call to the Maps API that then returns the latitude and longitude of the user. You can then store this information in the user’s cookie for use throughout the site.
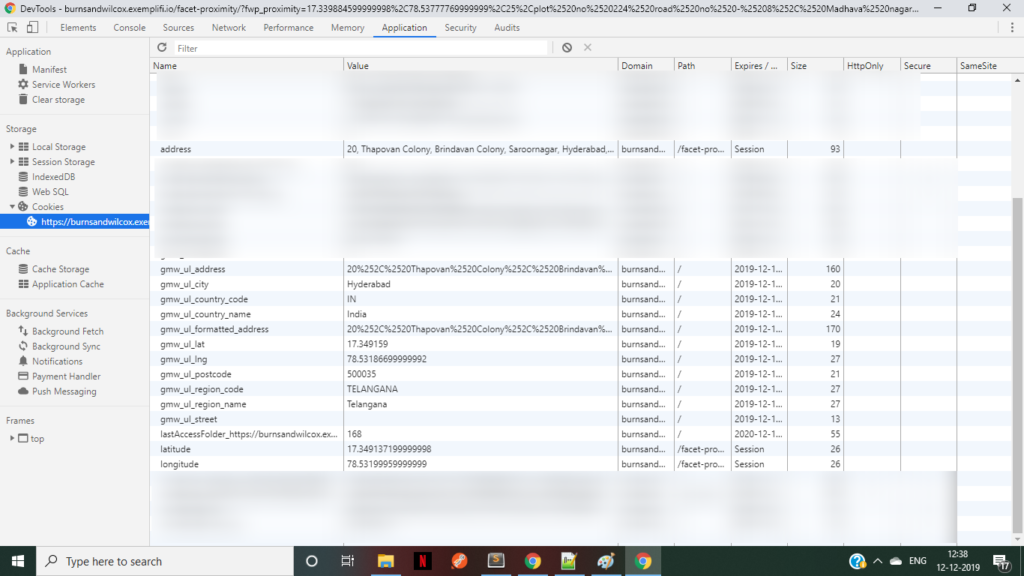
You can confirm that the latitude and longitude are being stored in the cookie by checking in the Chrome Inspector.
The core query logic for determining nearby location
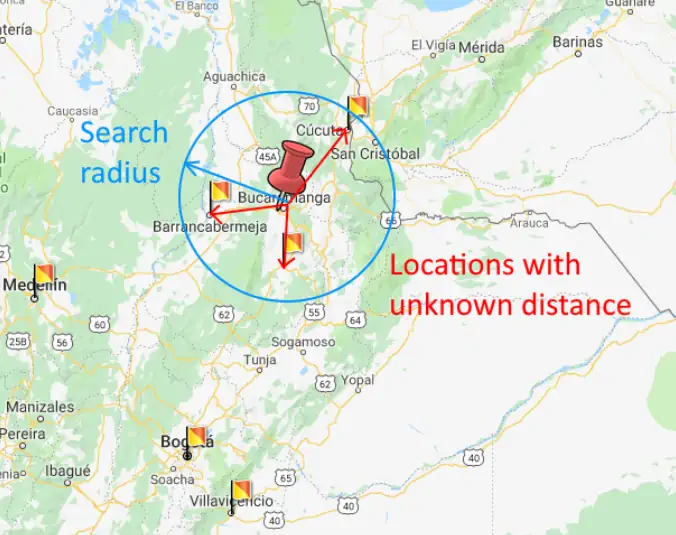
Let’s say the user’s latitude and longitude coordinates are (lat-A and long-B). Let’s also say that there are ten offices each with lat/long coordinates (lat-1, long-1), (lat-2,long-2)…(lat10-long10). When you have to determine which office is closest to the user, you have to compute the distance of all these offices from the user (usually within a certain radius) and then show the one that has the smallest distance value.
The core formula for the distance between two sets of lat/long values is:
function getDistanceBetweenPointsNew($latitude1, $longitude1, $latitude2, $longitude2, $unit = 'Mi')
{
$theta = $longitude1 - $longitude2;
$distance = (sin(deg2rad($latitude1)) * sin(deg2rad($latitude2))+
(cos(deg2rad($latitude1)) * cos(deg2rad($latitude2)) * cos(deg2rad($theta)));
$distance = acos($distance); $distance = rad2deg($distance);
$distance = $distance * 60 * 1.1515;
switch($unit)
{
case 'Mi': break;
case 'Km' : $distance = $distance * 1.609344;
}
return (round($distance,2));
}
After you have computed all the values, you can then sort based on the shortest distances and show the relevant results to the user.
Practical Implementation Approaches
In reality though, you would have already built multiple components with the default query logic already developed. Furthermore, you would have used several higher-order tools to create these components and implement their query logic. The real task is to “layer” this location-aware query logic on top of what already exists.
In the WordPress ecosystem, you can consider using products such as GeoMyWP or FacetWP that have a lot of this functionality built-in. You can use them to associate address information to any custom post type. They can then gauge the user’s location and show him the data that is nearest to him.
This is just the tip of the iceberg. If your looking for further site personalization in WordPress, check out our related posts below.